Have you ever wondered what makes a Taylor guitar, a Taylor guitar? Take a look at the different processes, materials and skills that go into crafting a beautiful Taylor Guitar from start to finish.
This post covers the initial stages of guitar making, from the tonewoods being stored and cut, to how the body, sides and neck are crafted and put together, as well as the finer details and final stages of assembling and adding a finish to the guitars.
Skip Ahead: Tonewoods | Body | Neck | Finish
Taylor has two state-of-the-art factories – one in El Cajon, California and one in Tecate, Baja California, Mexico, the latter of which makes many of the company’s entry-level guitars.
They produce around 720 guitars per day between both factories and employ over 1,200 people to build guitars with the help of some robotics.
Taylor Guitars made in the US have an all-solid wood construction, use more advanced craftsmanship for intricate details on inlays, binding and finishes, and come with hard cases, whereas the guitars built in Mexico have a solid top with layered back and sides, and soft cases (apart from the 200 Deluxe models), but there is no compromise on quality and attention to detail.
<< Check out our full range of Taylor Guitars >>
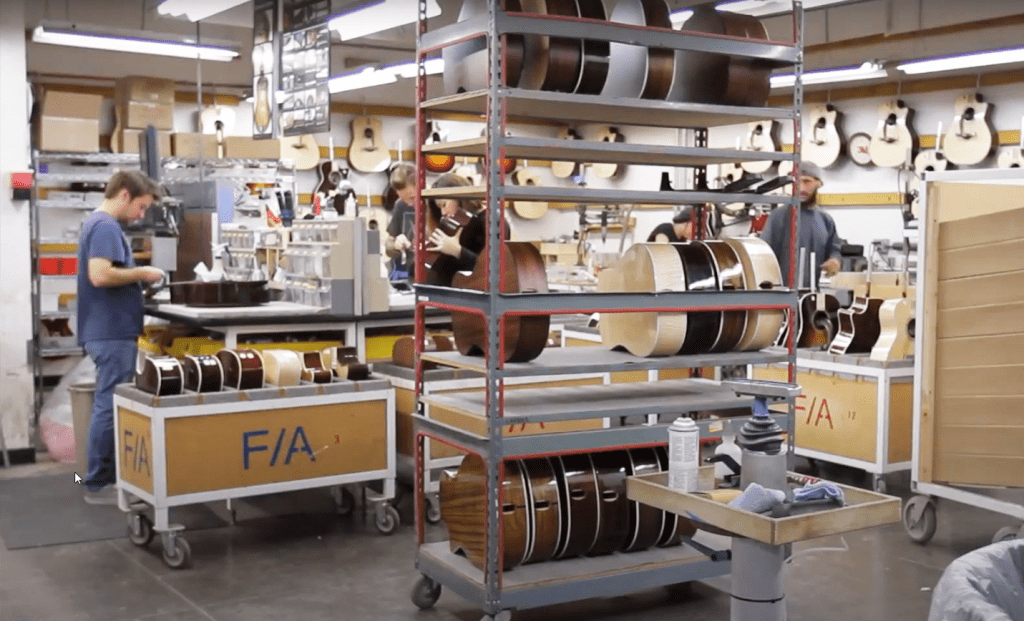
Tonewoods
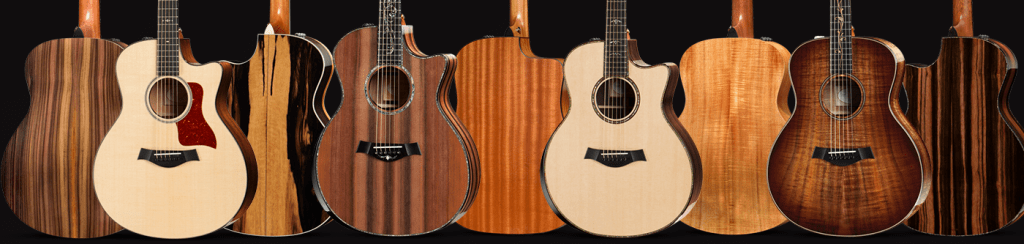
Taylor has over 35 species of carefully selected wood stored in-house and ready to use, such as Hawaiian Koa, their own sustainable supply of African ebony, and tropical mahogany. These tonewoods are sourced from all over the world, including Africa, Central America and Alaska, and Taylor is committed to finding environmentally responsible growers, as well as growing trees that best suit their needs.
Off to the Acclimation Room
If the tonewood is too wet, it will start to shrink and crack as it continues to dry, so all the wood Taylor uses goes to the acclimation room to dry out, where the humidity and temperature are stable. How long each type of wood stays there depends on its moisture content – it’s normally for 2 – 6 weeks, and the wood will end up having 6% – 10% moisture content before it goes onto the next stage.
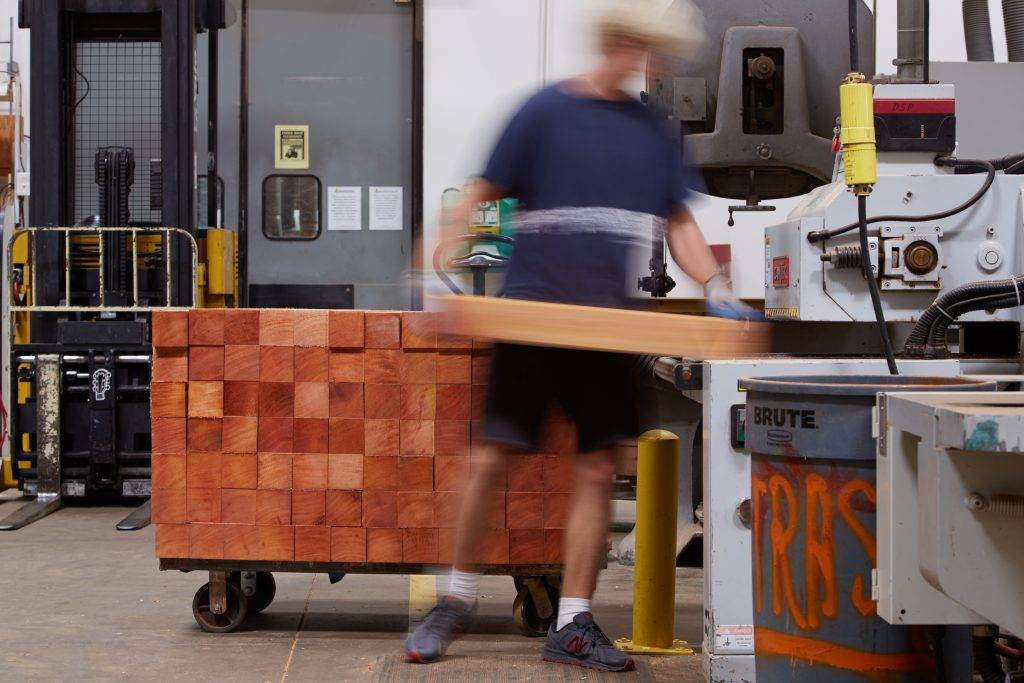
Once the wood has been dried, the wood goes to the laser room to get cut into uniform pieces using a fibre-optic laser and computer programming to cut guitar parts with incredible accuracy down to 1/1000th of an inch. Then it gets sent to other parts of the factory, such as adding bracing to the tops.
<< See our post on How to Take Care of a Taylor Guitar >>
Body
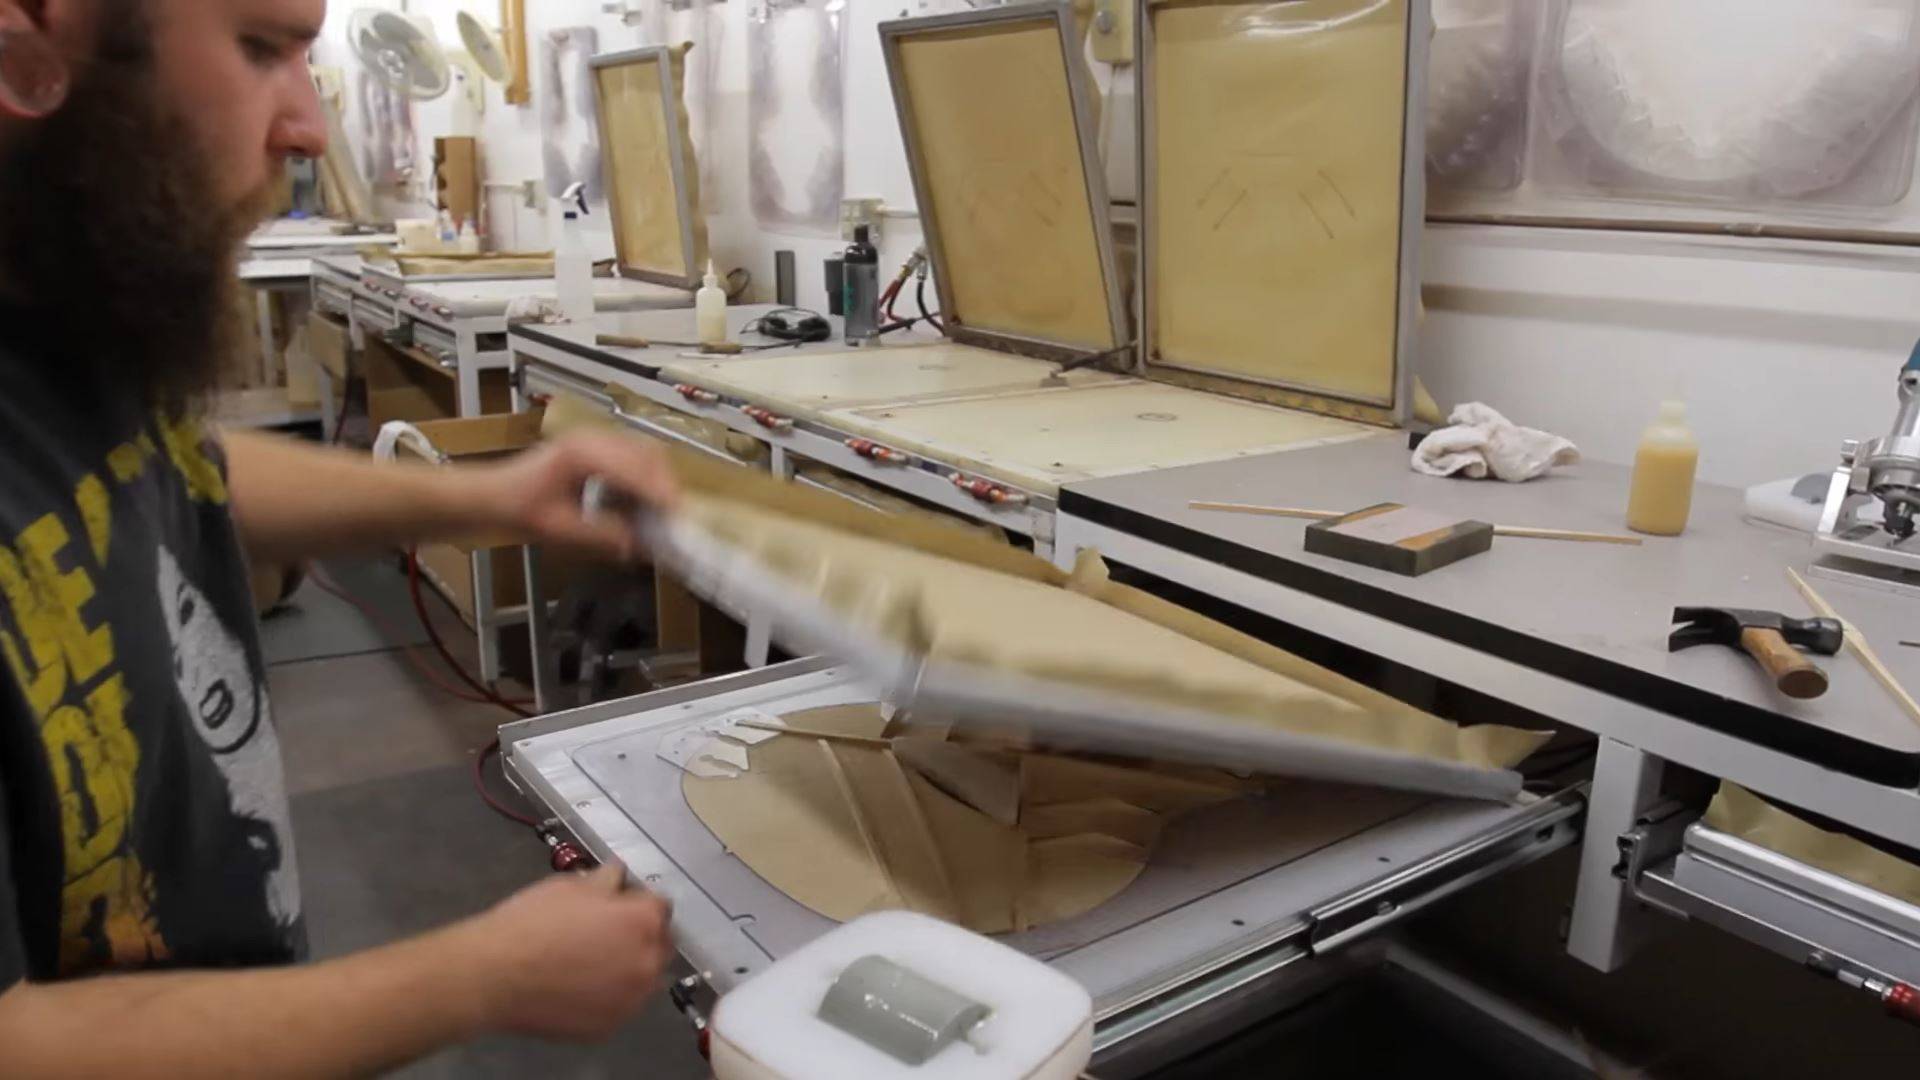
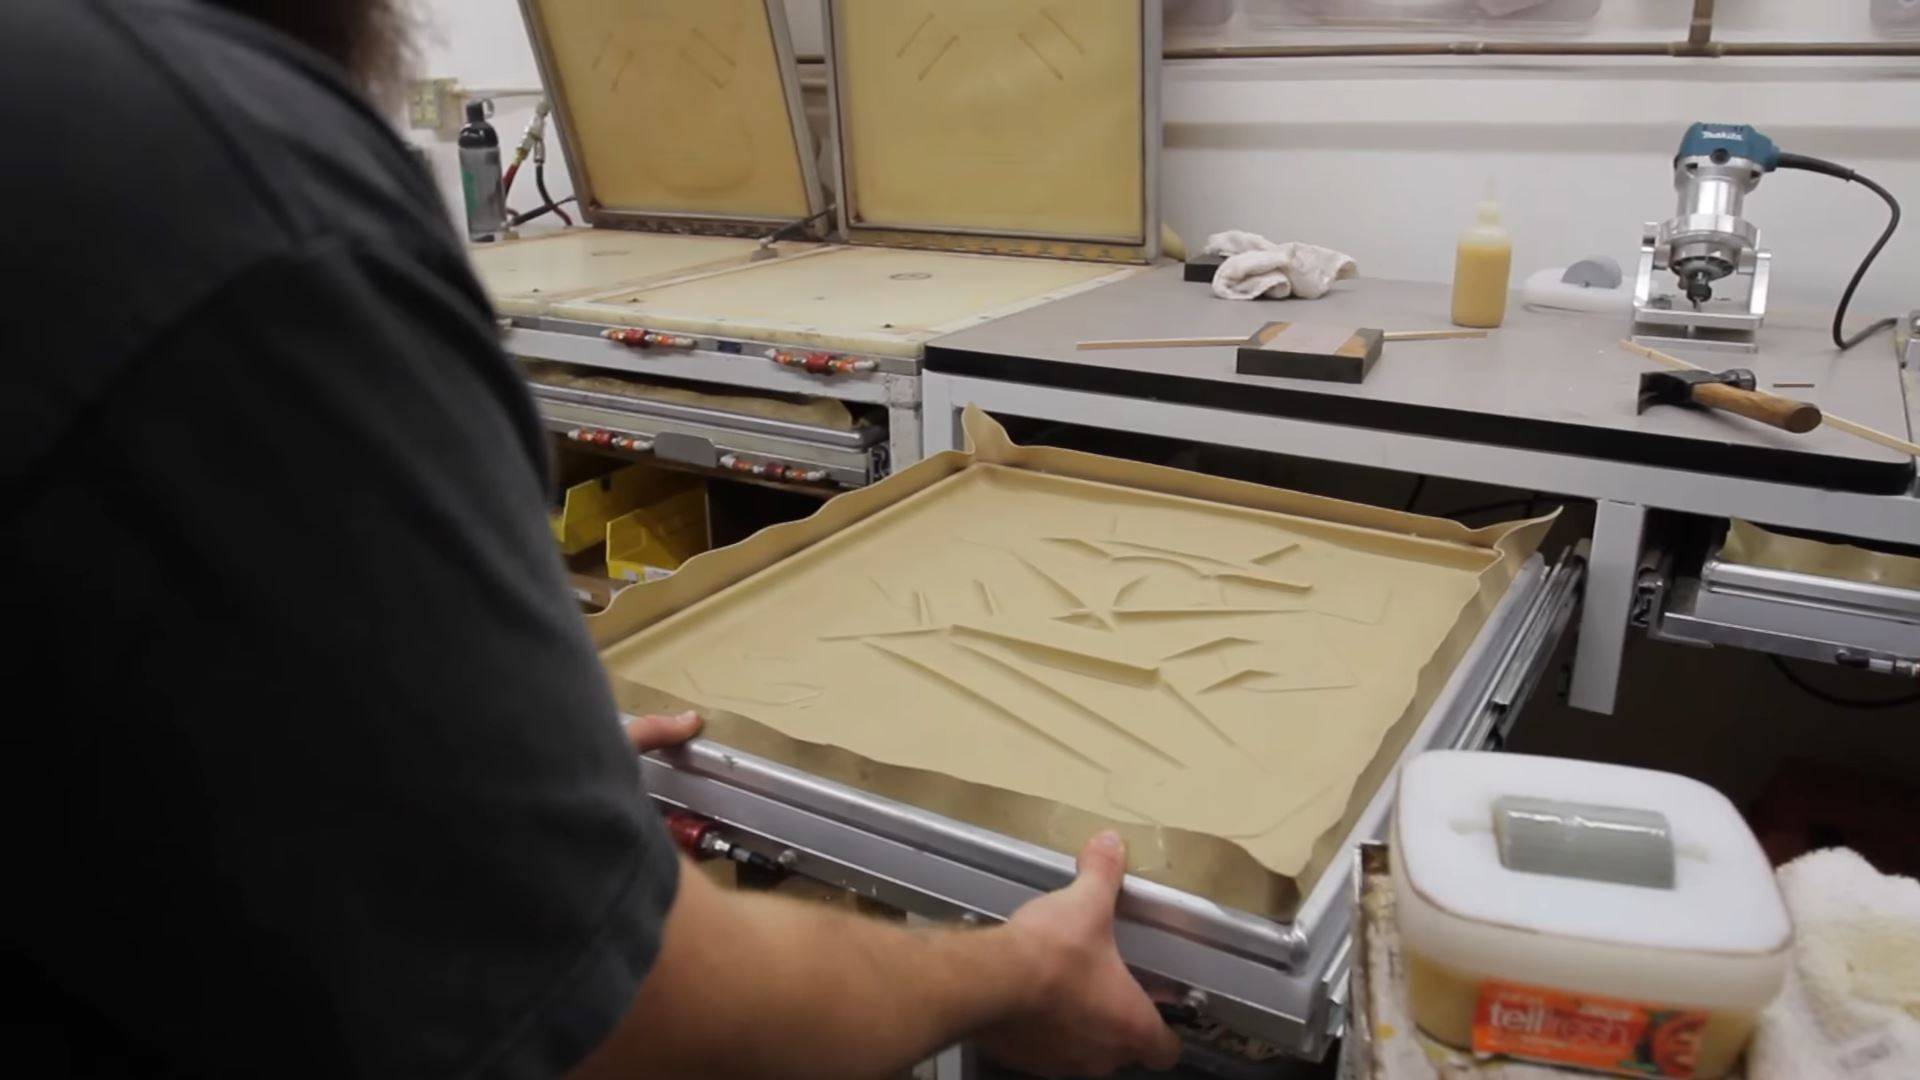
The tops are cut using machines, and then bracing is added, ready to be attached to the sides later on.

Bracing
The bracing area has a fan blowing to maintain a controlled temperature and humidity level. The guitar tops spend at least 24 hours in this room, and as many as 2 or 3 days in order to stabilise the wood and make sure all the tension is released.
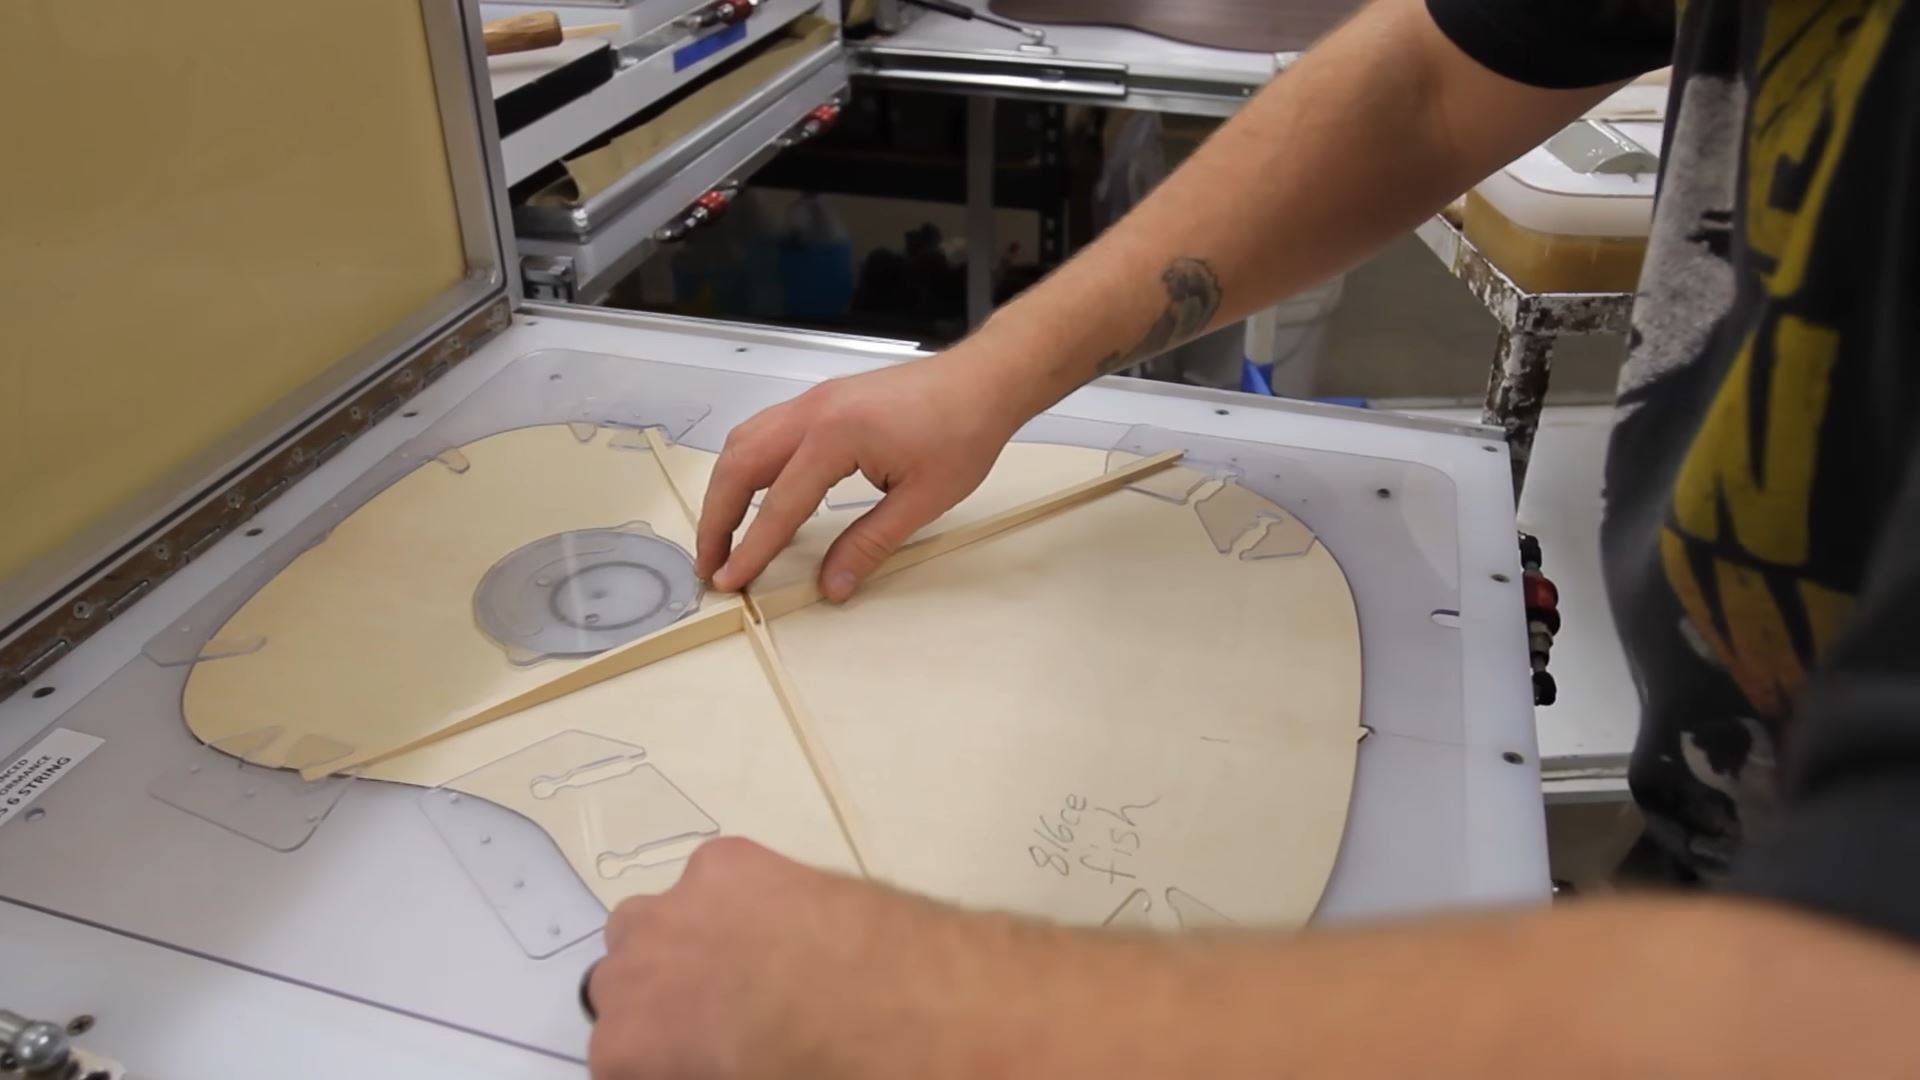
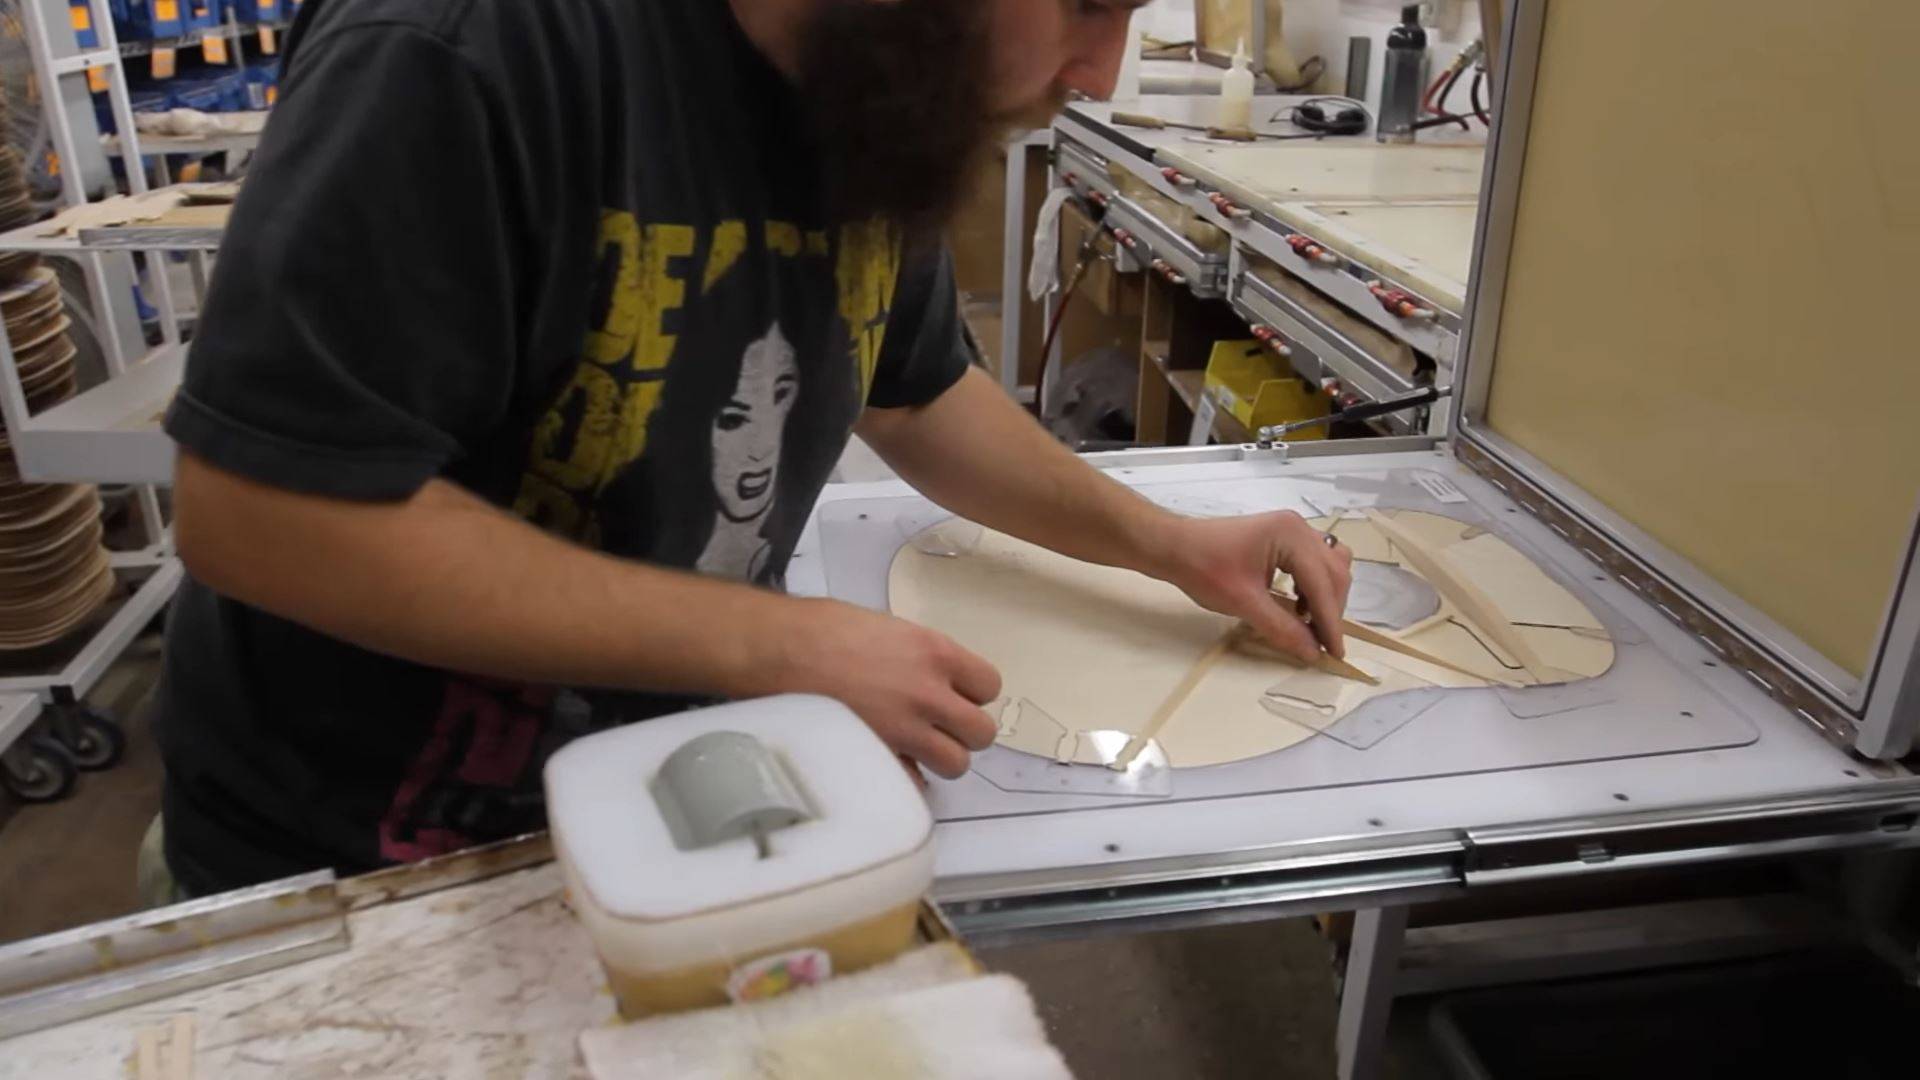
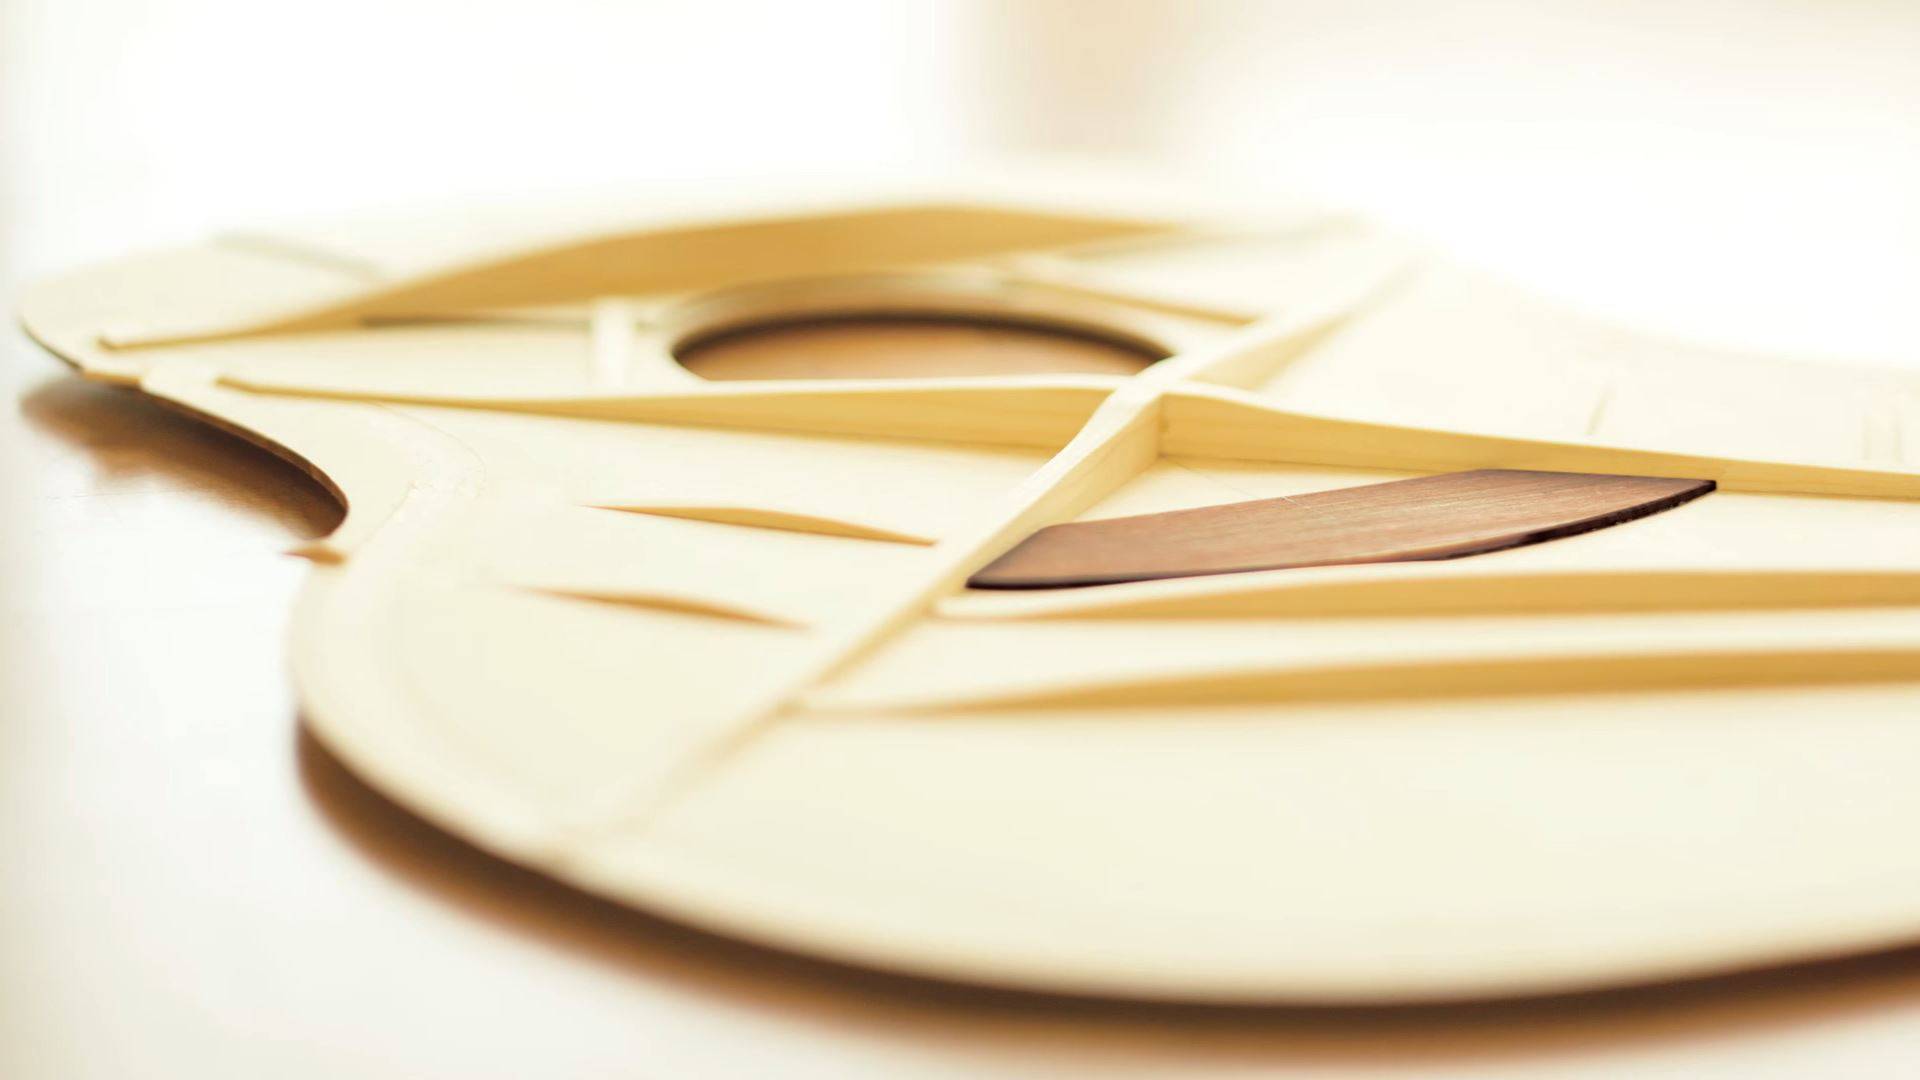
During this time they can lose weight, shrink, or sometimes grow depending on the wood, and they need to reach a certain weight and measurement before adding bracing and going to the next stages
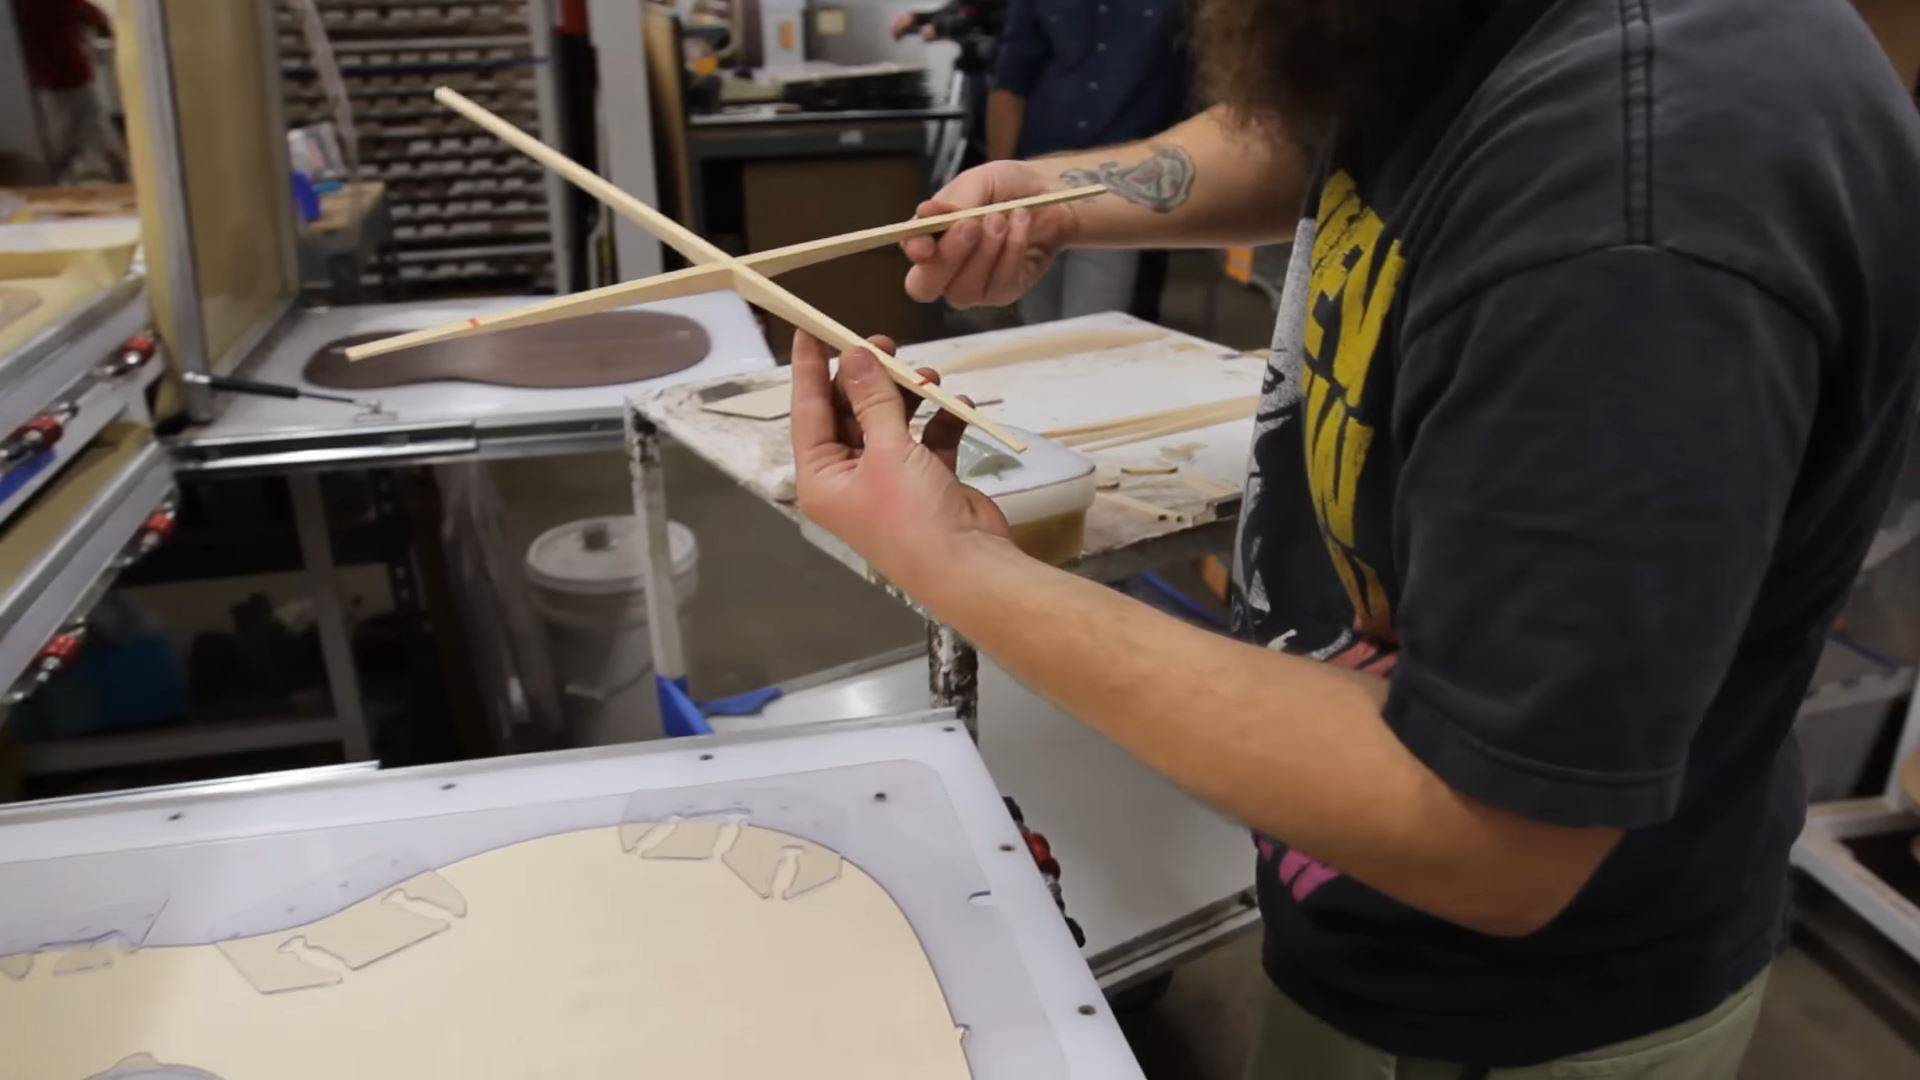
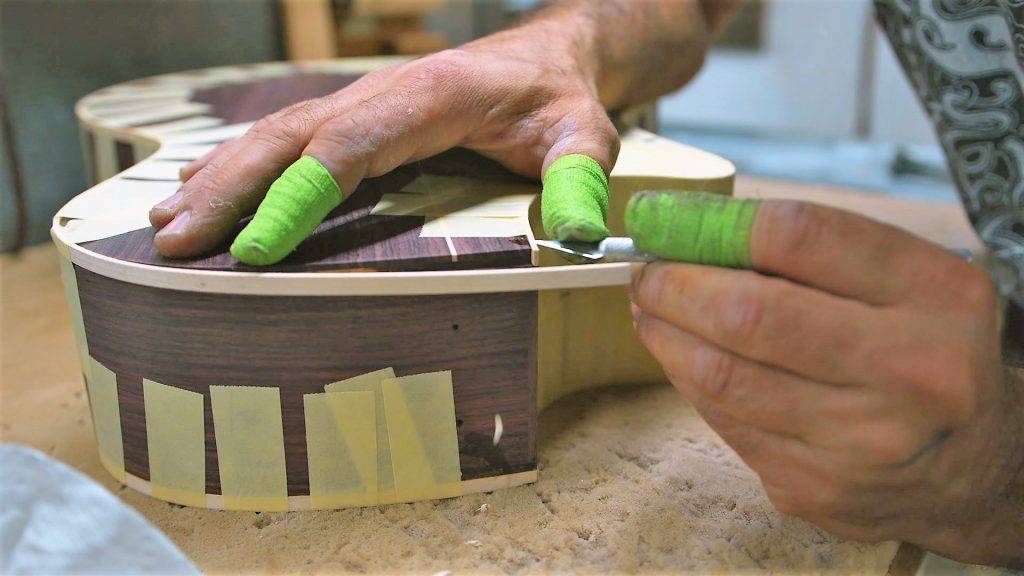
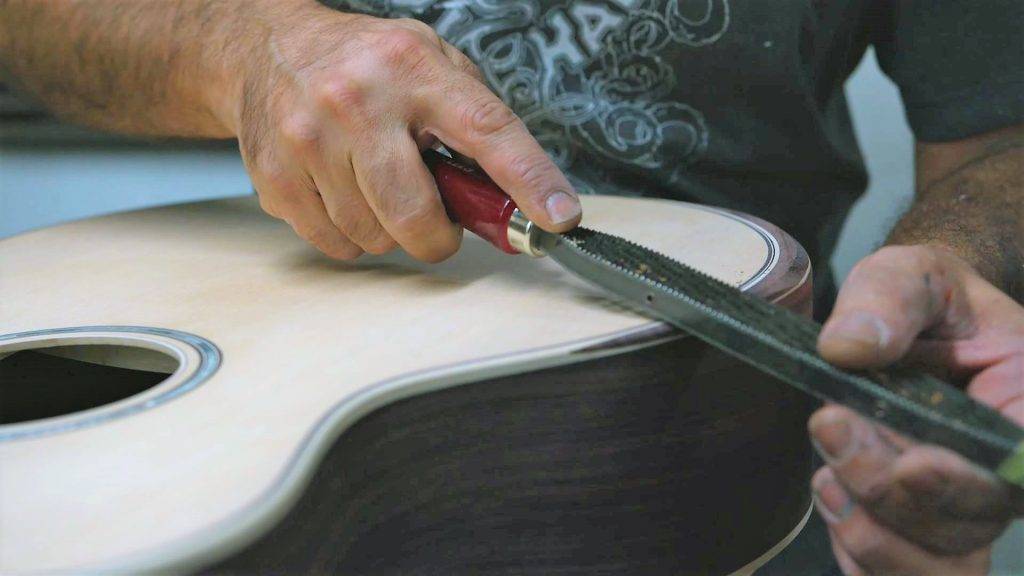
The soundhole is created in the laser room, but the purfling and decorations are laid into the guitar by hand.
Check out the TaylorSense Health Monitoring System – see the health status of your Taylor guitar on your phone, wherever you are.

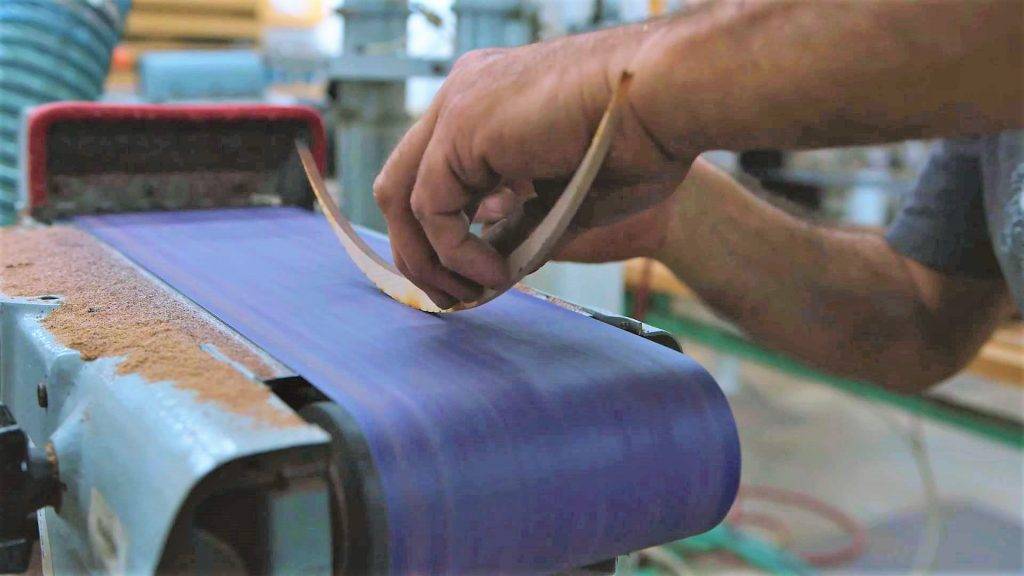
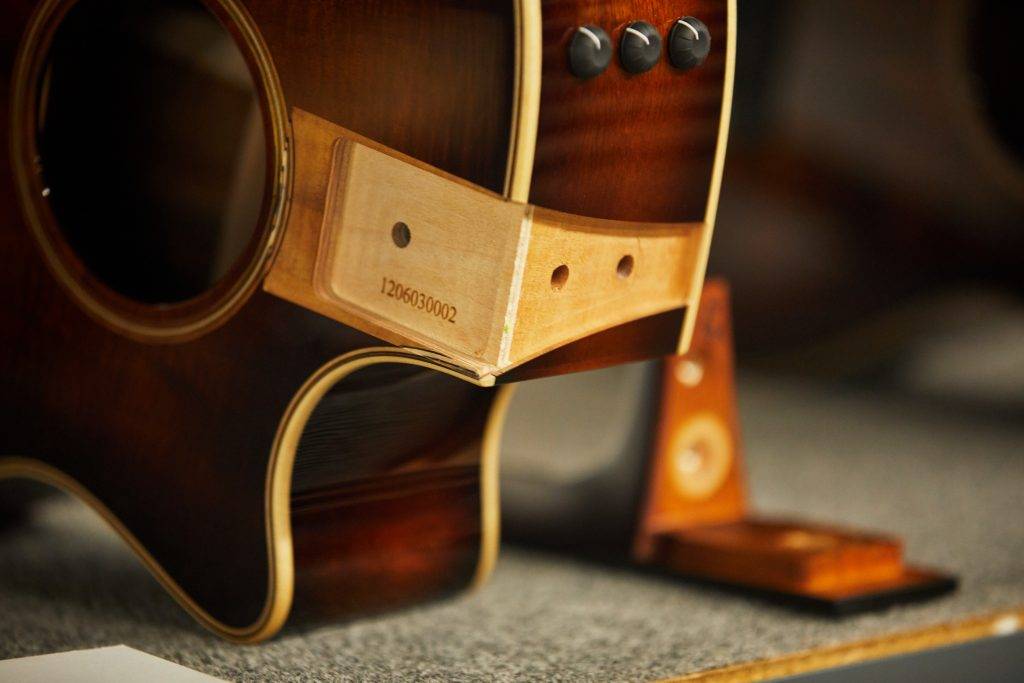
Shaping the Sides and Body Assembly
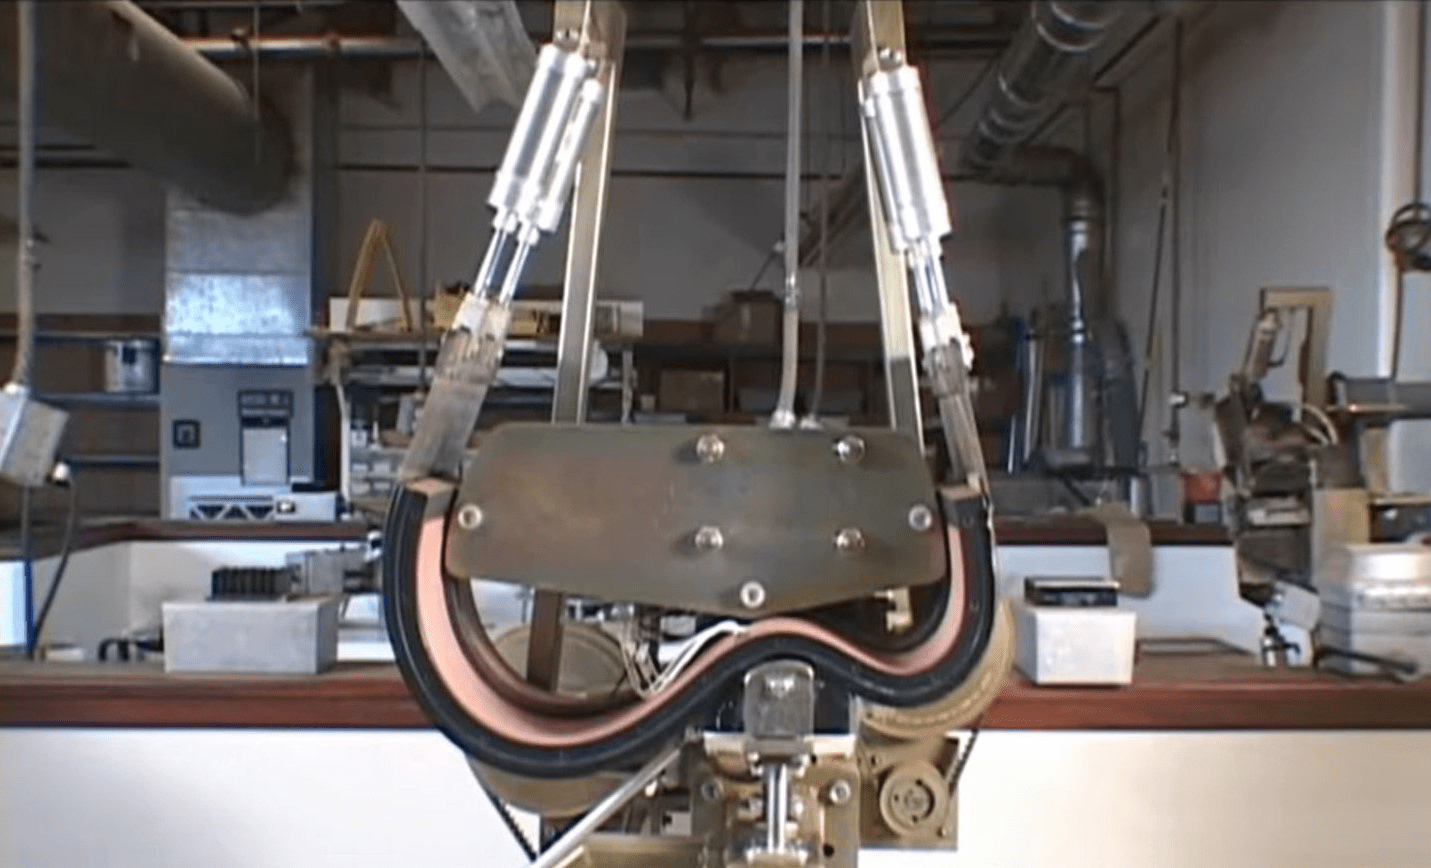
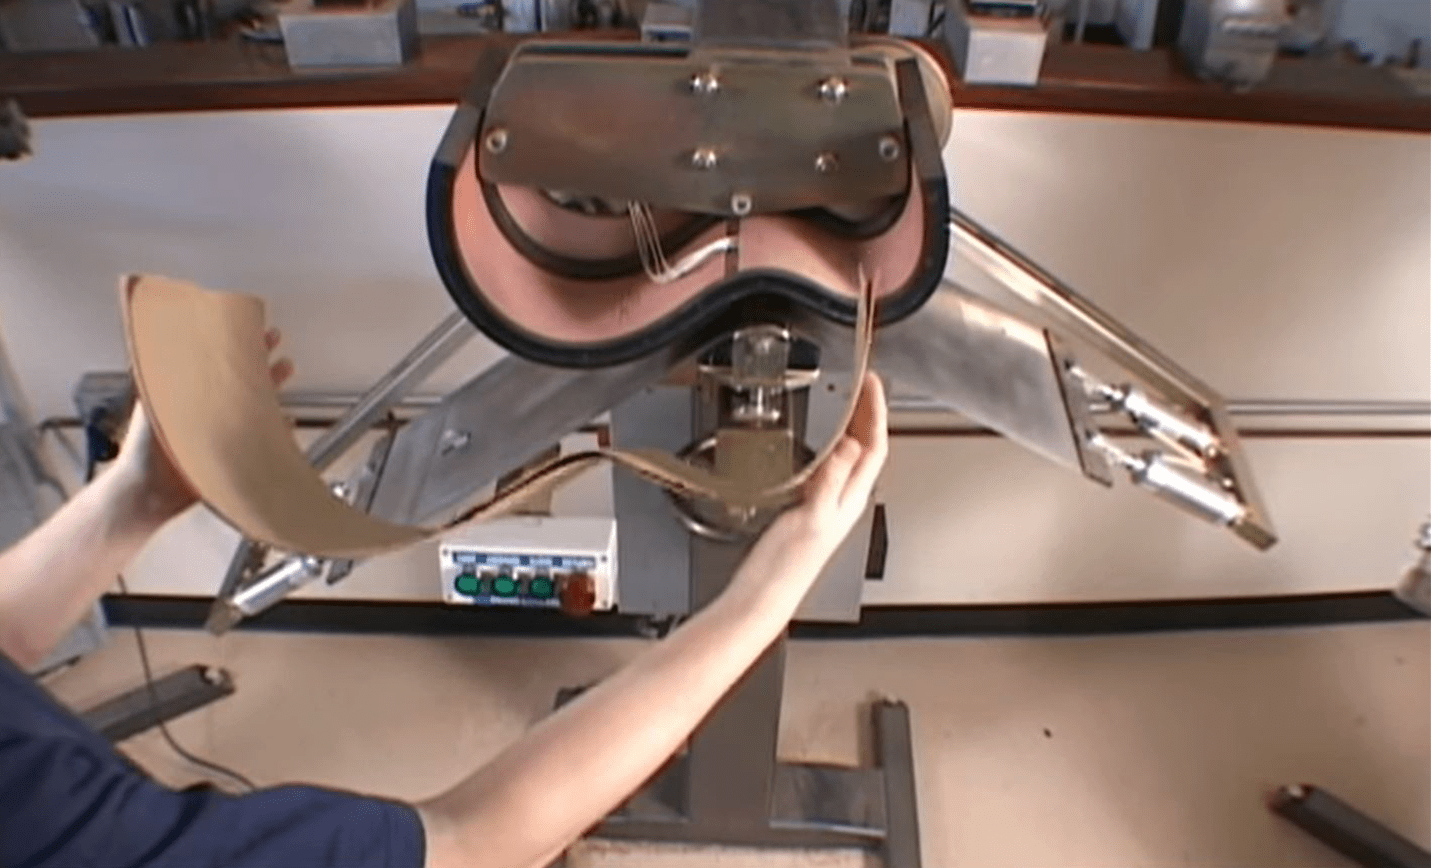
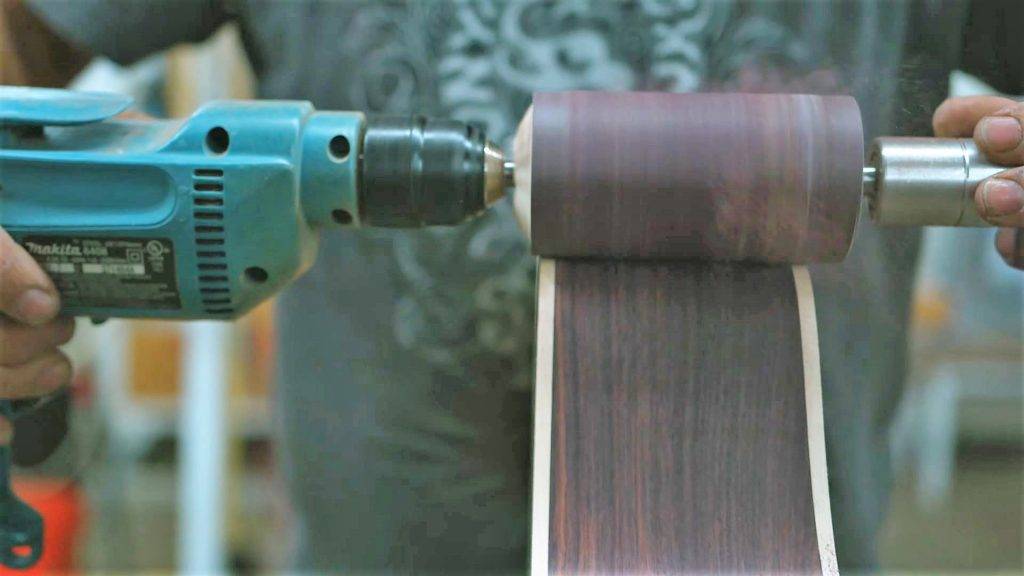
Taylor guitar’s sides are made using special machines that heat the wood to 300ºF and curve it to make the final body shape. After this, it’s cooled so it holds its shape.
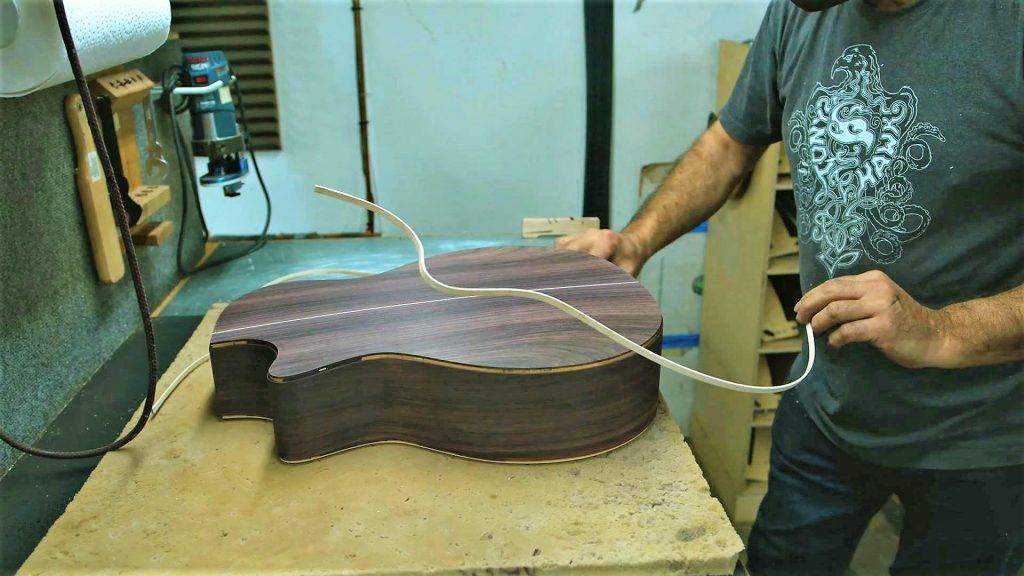
Kerfing is glued around the outer perimeter so the top and back parts can be added. Kerfing is partially sawed wood that simultaneously has the ability to bend while also keeping a stable base to glue the guitar together. Then the tail and heel block are attached to the top, back, and sides.
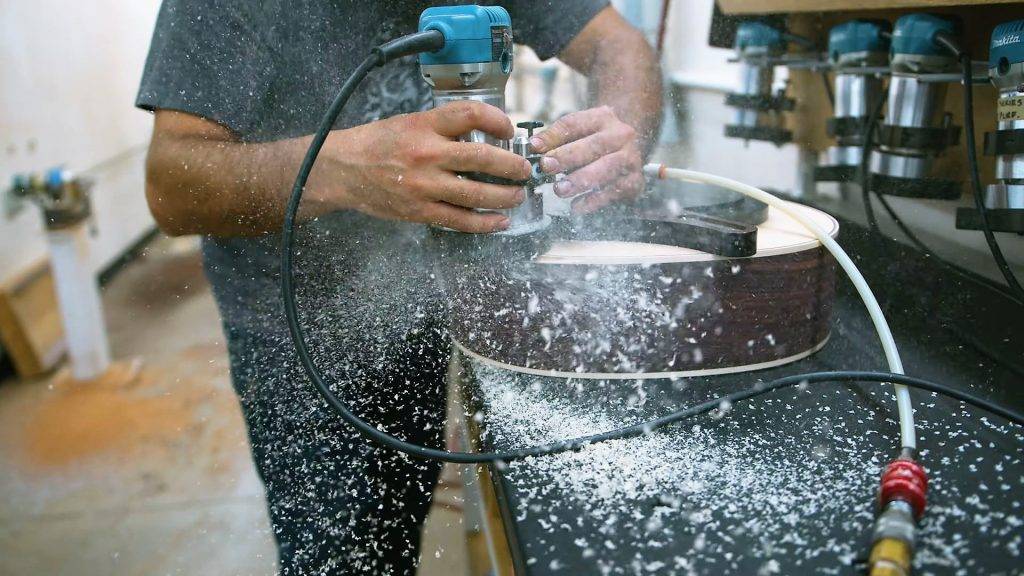
Binding is carefully added, and armrests are built into the body if the model requires it.
“We could build a guitar faster, but we won’t. We want to maintain a high level of quality.”
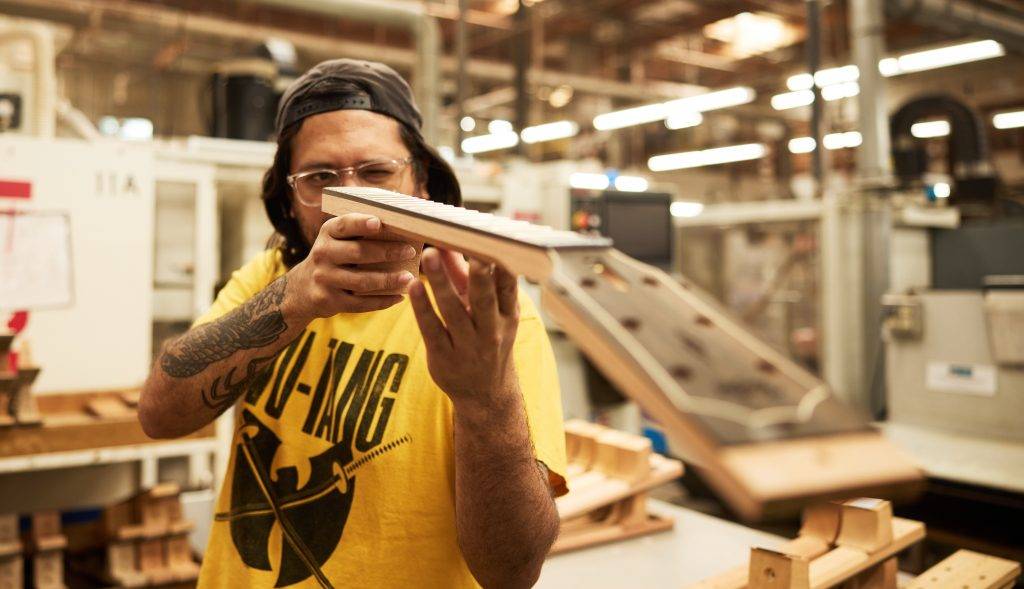
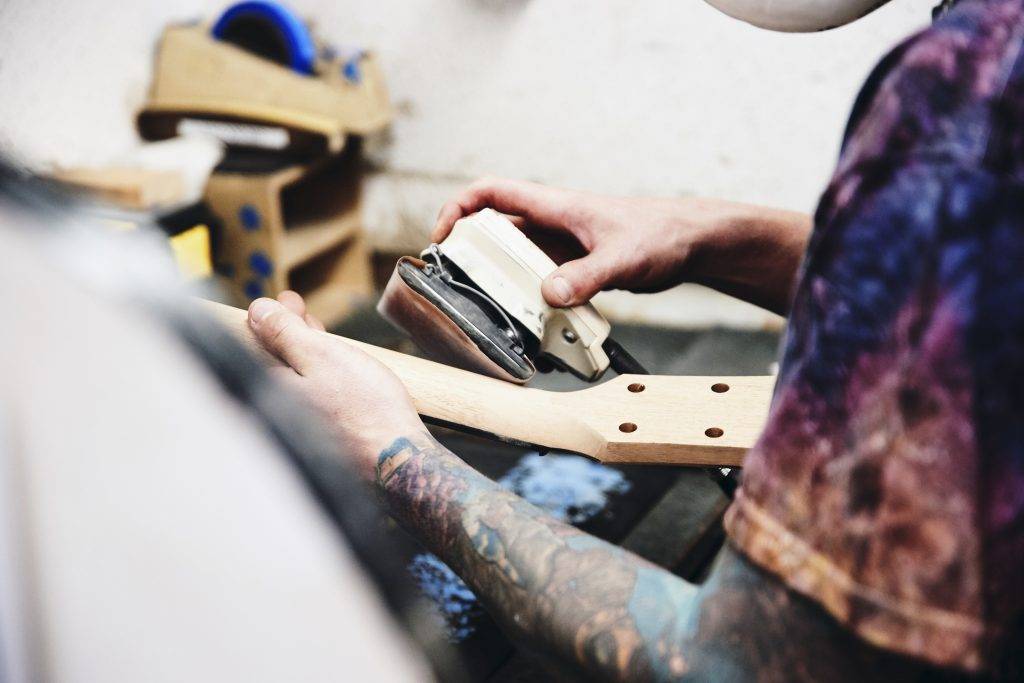
Neck
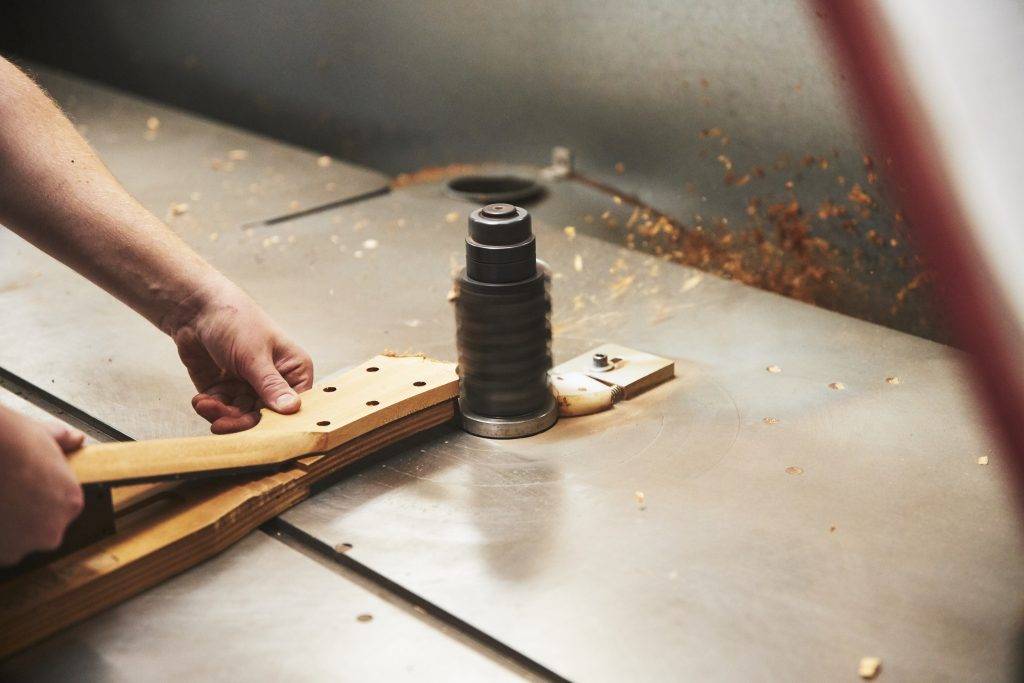
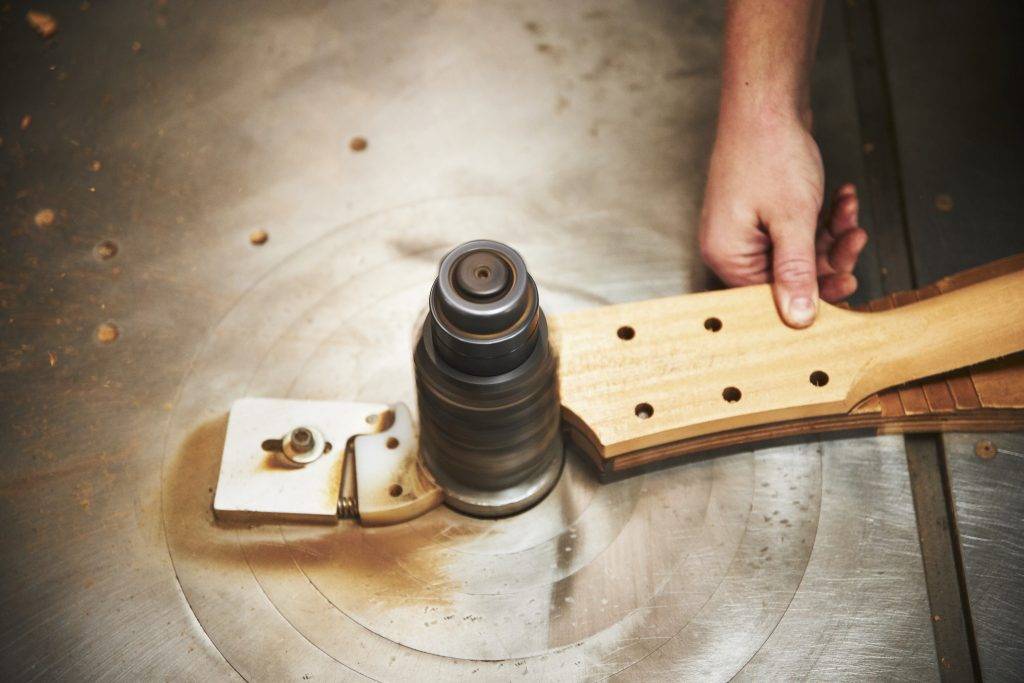
Taylor guitar necks start as a 4×4 board, and are turned into something that’s closer to the neck size through rough milling. Carving down the neck to its final shape and size is done in stages, as wood tends to release tension when it’s cut, so it needs time to rest and become stable before shaping it to the exact size.
The neck goes through a finishing process before attaching it to the body. The heel is glued to the neck, the neck is carved, and then it’s sanded to make it super smooth. It also goes through precision cutting and stabilisation – fly cutting each neck to get a flat, parallel surface so the fretboard can then be glued on.
Fretboard
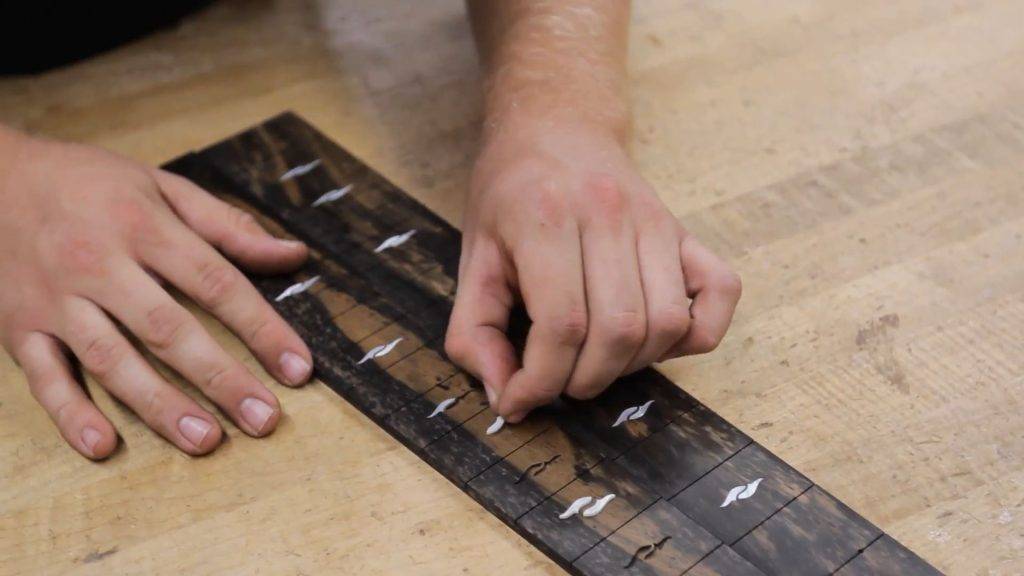
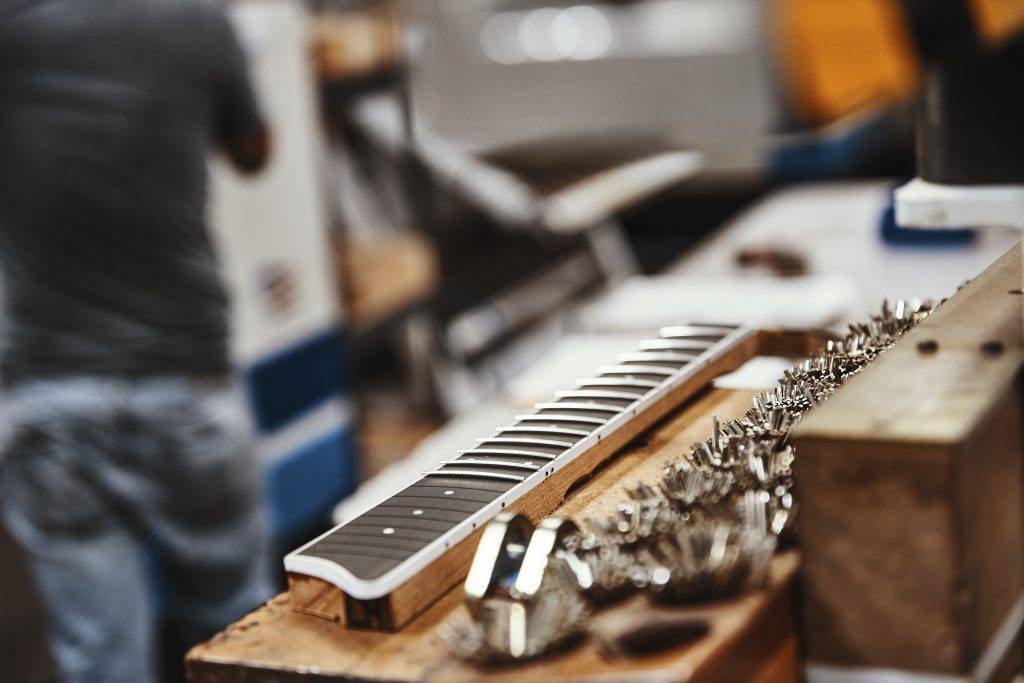
The neck and fretboard are bonded together, the decorative plate is added at the top of the neck, the radius of the fretboard is adjusted as needed, and the frets are inserted. The shapes of the inlays are lasered, and the actual inlays are inserted by hand.
Finish
Taylor uses their own polyester finish formula on guitars which has plenty of benefits, including being more durable, less susceptible to temperature changes, a thinner coverage can be used to allow the wood to resonate better, it won’t yellow over time, and it’s also environmentally friendly.
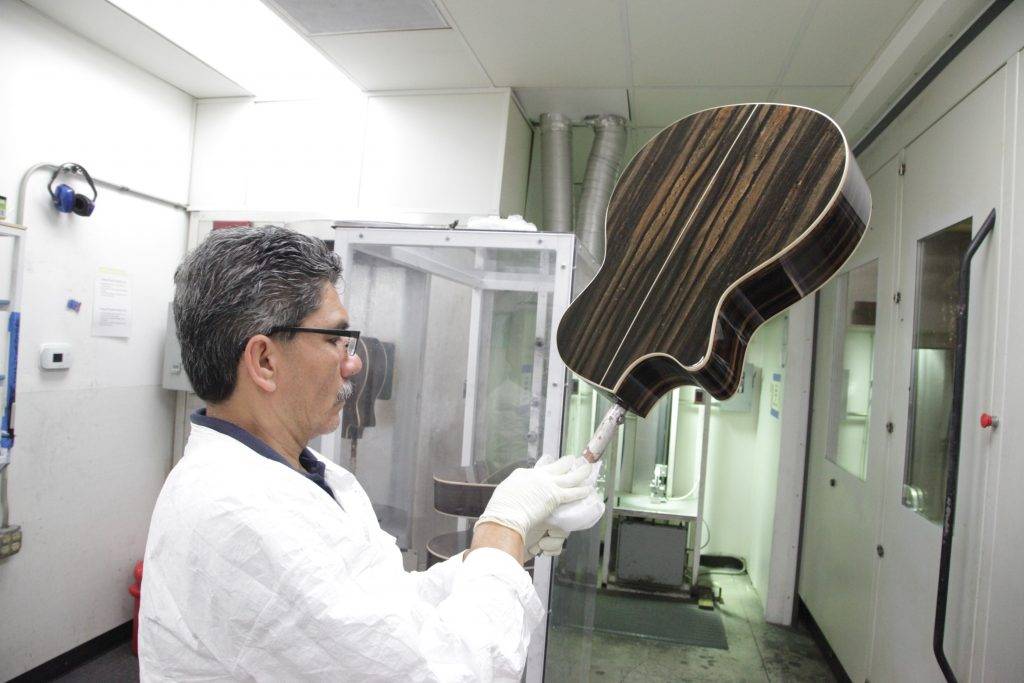
Taylor also uses UV ovens to dramatically reduce the curing time of the finish. For lacquer, it would normally take 10 days or more, but with their ultraviolet ovens, it takes around 1 minute.
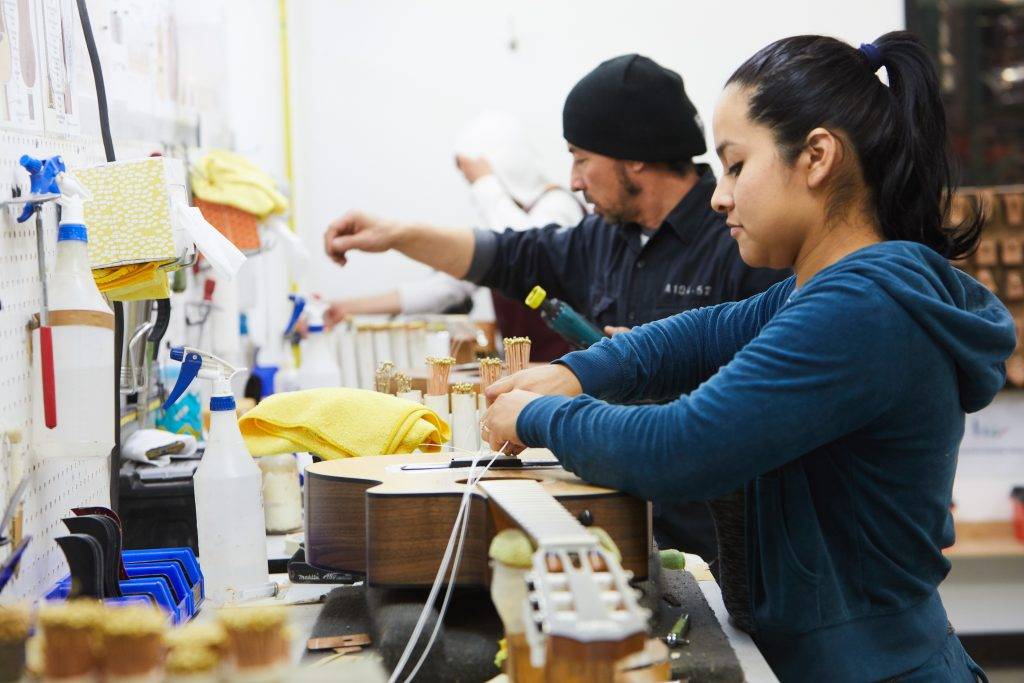
As part of the final assembly, they pocket the top of the guitar body on a CNC machine, so the neck can be joined. The neck is then attached using three bolts, two from the heel to heel block and one to attach the fretboard to the body. Then they adjust the neck angle to the angle of the bridge, as well as making sure the action isn’t too high or low.
Then other features are added such as tuning pegs, electronics, and pickguards. Finally, the guitar is strung, tuned and played to make sure it passes all the tests. It then goes into its case and is boxed and sent to the customer or dealer.
The whole process of making Taylor guitars from beginning to end takes around 15 days, and the end result is a beautiful-sounding heirloom-worthy guitar.